Introduction to EZCAD for Laser Engraving
EZCAD is one of the most popular laser control software systems used in fiber laser, CO₂ laser, and UV laser engraving machines. Known for its compatibility with BJJCZ controllers, EZCAD provides an intuitive interface for controlling laser parameters, editing graphics, and executing precise marking tasks. Whether you’re using a portable laser engraving machine or an industrial-grade fiber marking machine, EZCAD is likely your go-to software.
In this guide, we’ll walk you through how to use EZCAD for laser engraving, step by step.
Step 1: Install EZCAD Software
Before you begin engraving, you need to install the EZCAD software and its required drivers:
Download the latest EZCAD version (usually EZCAD2 or EZCAD3 depending on your controller).
Install the software and USB drivers (like LMC USB driver) for BJJCZ controller compatibility.
Connect your laser engraving machine to your PC via USB.
Tip: Ensure your system detects the board (LMC card). If not, install the driver manually from the “driver” folder in EZCAD’s directory.

Step 2: Understand the EZCAD Interface
When launching EZCAD, the main window will display:
Main Toolbar: For file, edit, layer, and laser controls.
Work Area: Where you’ll position and preview your artwork.
Object List: Manages all imported or created objects.
Parameter Window: Allows you to set laser parameters such as power, speed, frequency, and hatch settings.
The clean interface is one of the reasons why EZCAD is widely used in laser engraving machine applications.
Step 3: Import or Create Design Files
EZCAD supports a variety of file formats:
Vector formats: DXF, AI, PLT
Image formats: BMP, JPG, PNG
You can either import designs created in external software like CorelDRAW or AutoCAD, or use EZCAD’s internal drawing tools to create basic shapes and texts.
After importing, use the tools to scale, rotate, or mirror the design. Make sure the artwork fits the marking area of your laser engraving machine.
Step 4: Configure Laser Parameters
Configuring the correct laser parameters is essential to achieve optimal engraving results:
Power (%): Controls the intensity of the laser.
Speed (mm/s): Determines how fast the laser moves.
Frequency (kHz): Adjusts the laser pulse frequency.
Hatching: Sets the fill pattern for engraving solid objects.
The right settings depend on the material type (metal, plastic, glass, leather, etc.) and the capability of your laser engraving machine.
Step 5: Frame Your Work Area
Before engraving, use the “Frame” function in EZCAD to outline the working area on your material:
Click “F1 (Red Light Preview)” to visually confirm positioning.
Adjust the location on the platform if needed.
This ensures your design is aligned and won’t engrave off-target, which is especially important for batch processing in industrial fiber marking machines.
Step 6: Start Laser Engraving
Once everything is in place:
Double-check laser settings and alignment.
Ensure safety procedures are followed (e.g., wear protective eyewear).
Click “Mark (F2)” to begin the engraving process.
You can pause, stop, or re-run the job from the software. Most laser engraving machines also allow batch jobs and rotary marking through EZCAD plugins.
Tips for Using EZCAD Efficiently
Use layering to manage complex designs with multiple materials or settings.
Use variable text or serial numbers for dynamic marking in mass production.
Backup your parameter presets for different materials.
Keep your laser engraving machine lens clean for better performance.

Conclusion
EZCAD simplifies the laser engraving process by giving users full control over design, parameters, and machine operation. Whether you’re working with a fiber laser marking machine, a UV laser engraver, or a CO₂ laser system, mastering EZCAD will boost your productivity and engraving accuracy.
For best results, combine high-quality machines with EZCAD and keep experimenting with different materials and settings.
FAQs about EZCAD and Laser Engraving
Q1: Is EZCAD compatible with all laser machines?
EZCAD is mainly designed for machines using BJJCZ control boards. Check compatibility before installation.
Q2: Can I use EZCAD with a Mac?
EZCAD is Windows-based, but it can run on a Mac via Parallels or Bootcamp.
Q3: How do I save engraving settings?
You can save parameter presets in EZCAD for reuse, especially helpful for different material types.
Q4: Can I do rotary marking in EZCAD?
Yes, with the correct hardware and plugin configuration, EZCAD supports rotary axis for cylindrical engraving.
Q5: Where can I get EZCAD tutorials?
You can find video guides on YouTube, or check with your laser engraving machine supplier for specific training.
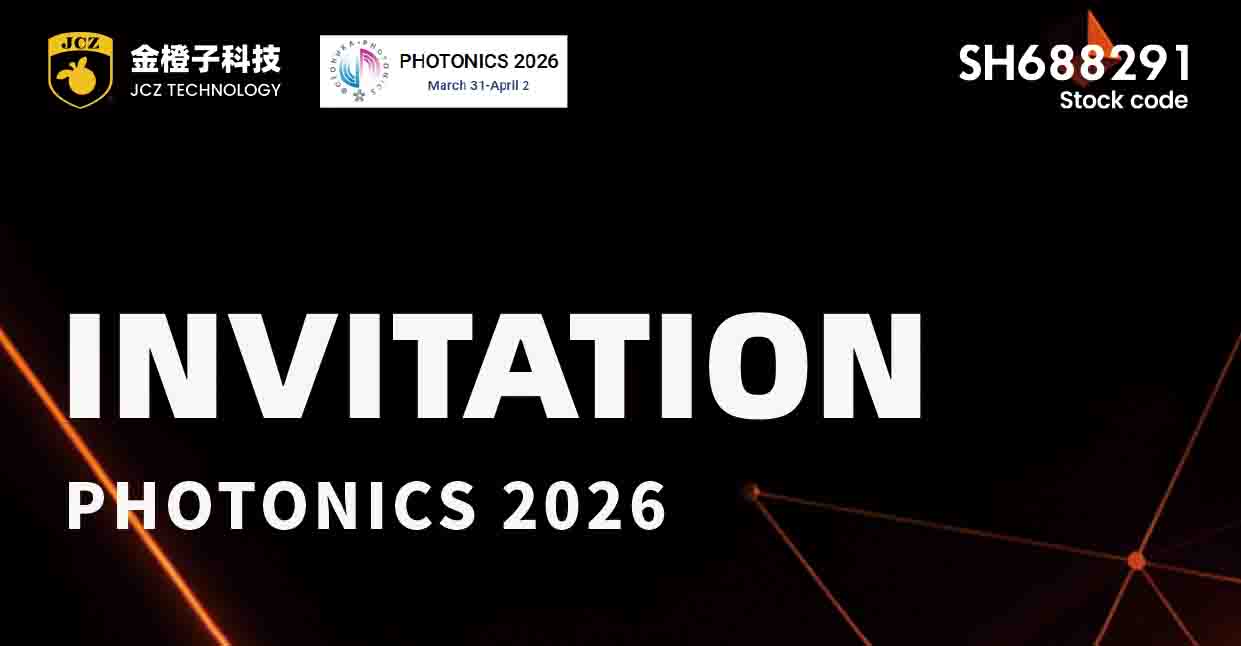
JCZ Invites You to Photonics 2026 in Moscow
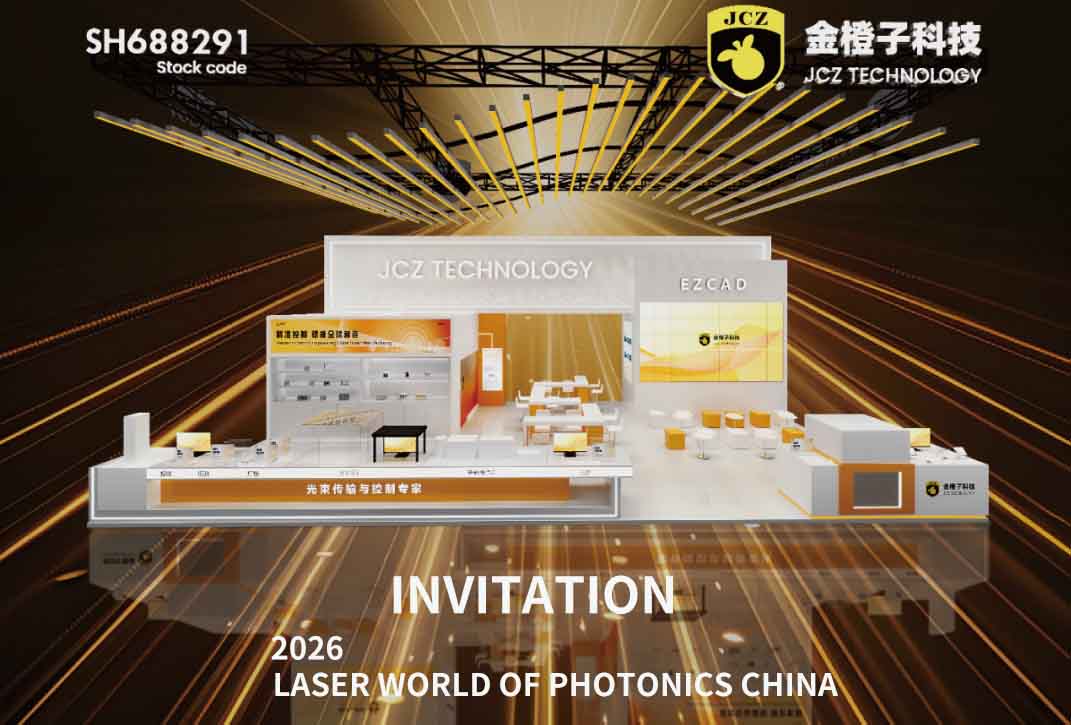
Invitation | JCZ Technology Invites You to LASER World of PHOTONICS CHINA 2026
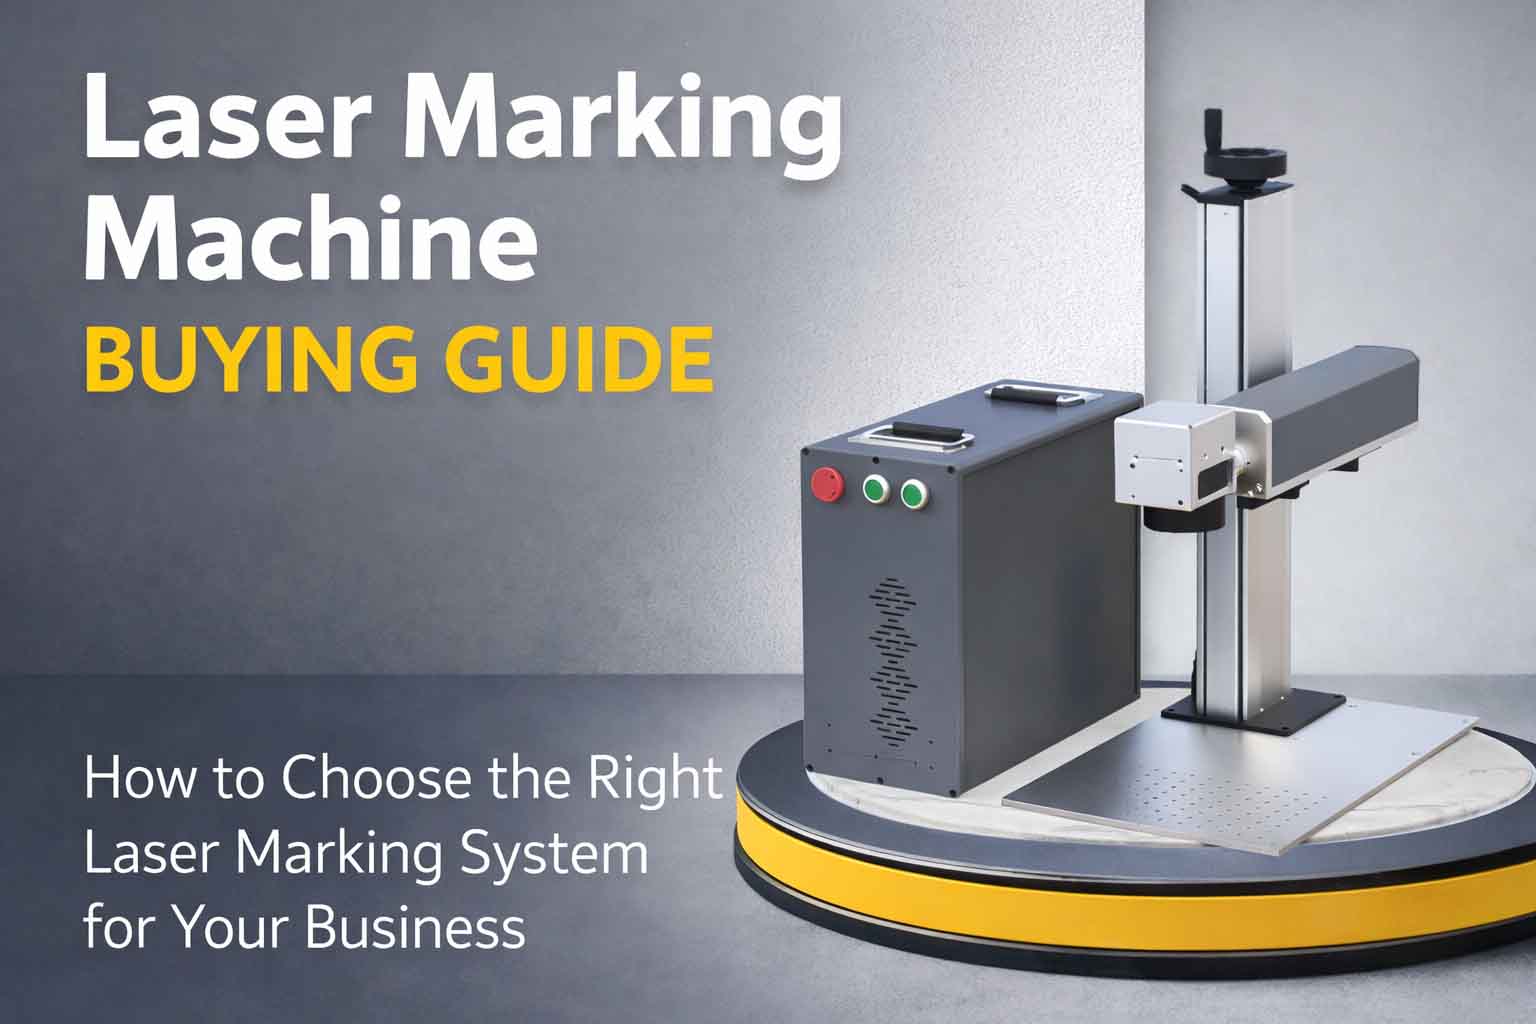
Laser Marking Machine Buying Guide for Industrial Buyers
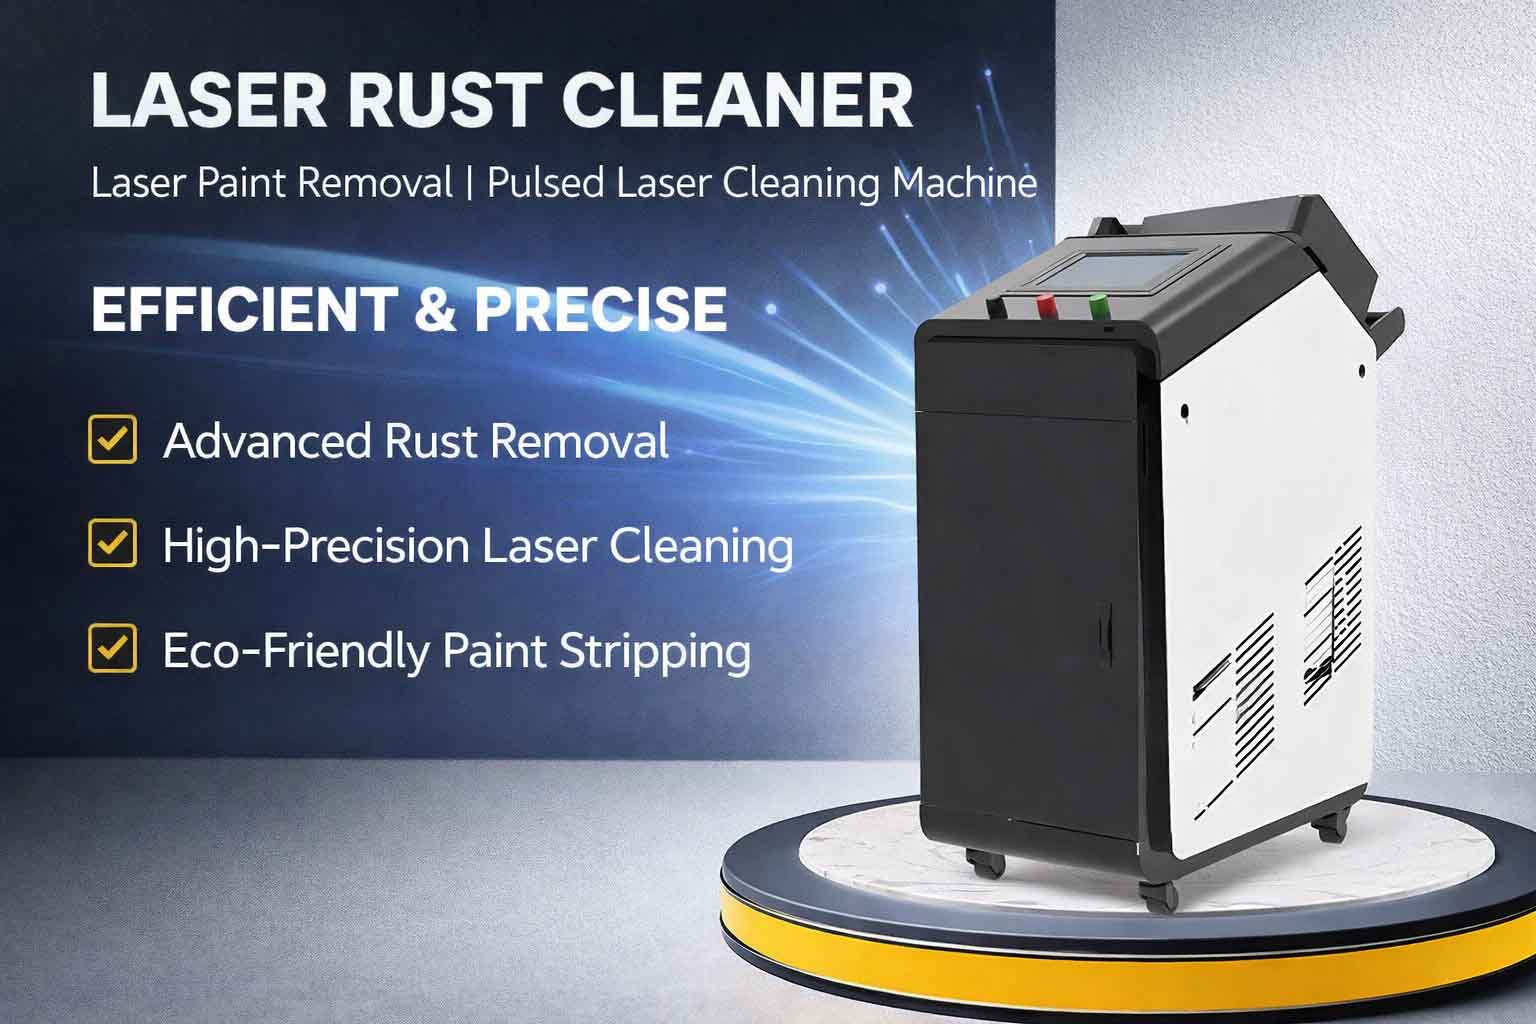
Laser Cleaning Machine Troubleshooting Guide
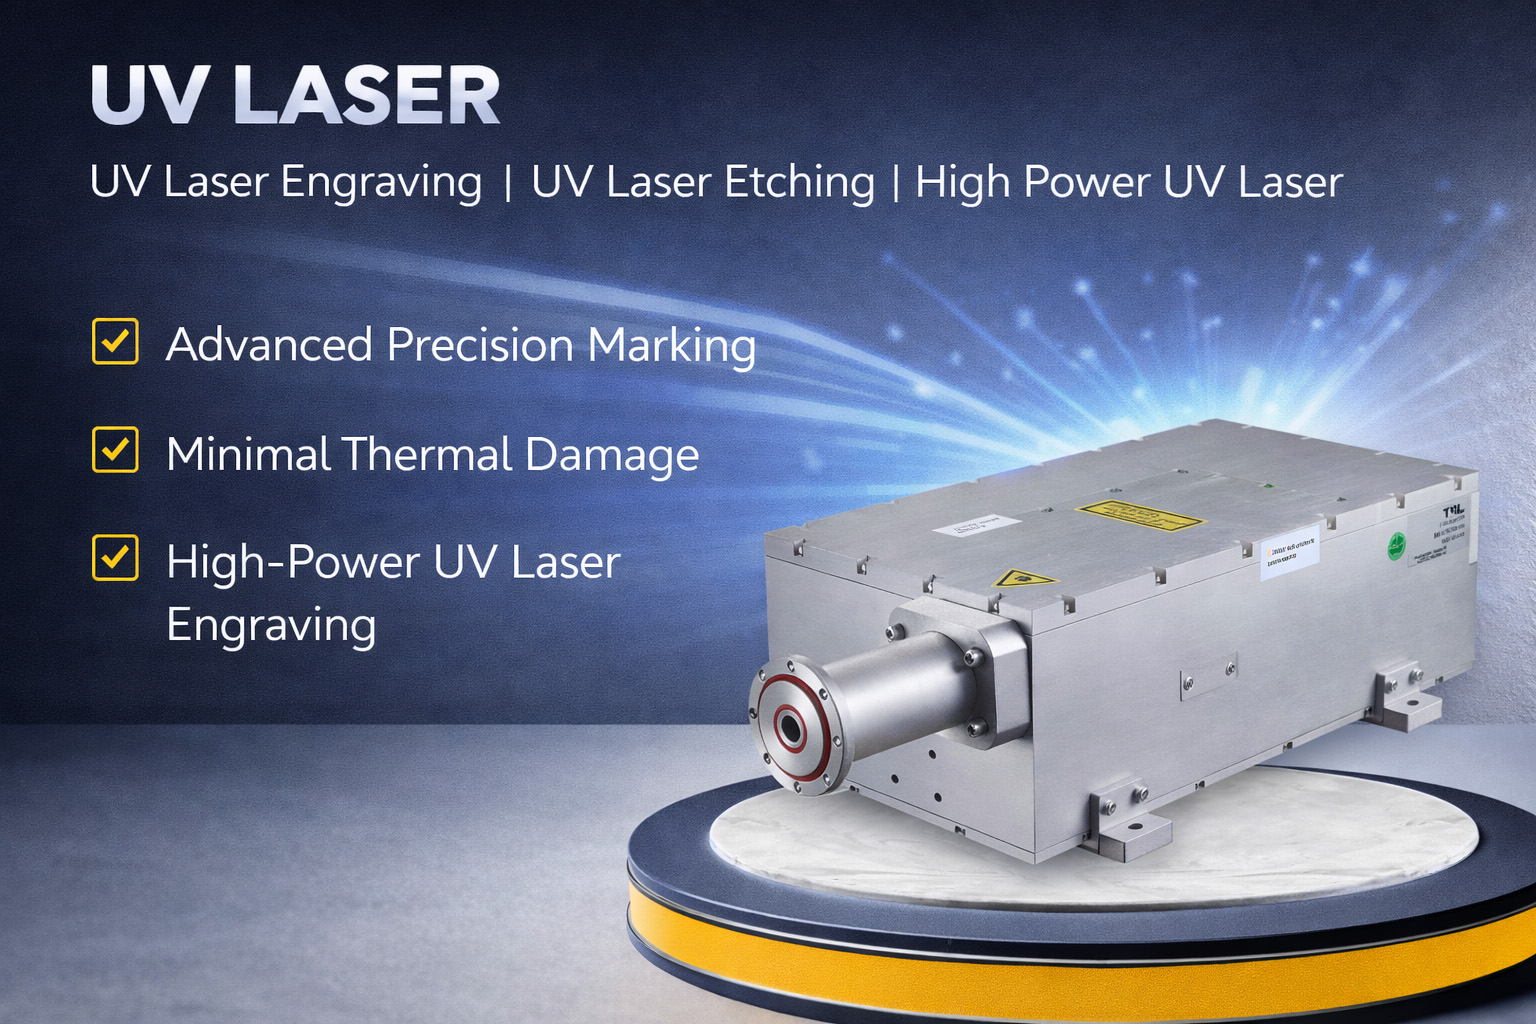
UV Laser: High-Precision Solution for Industrial Micro Marking
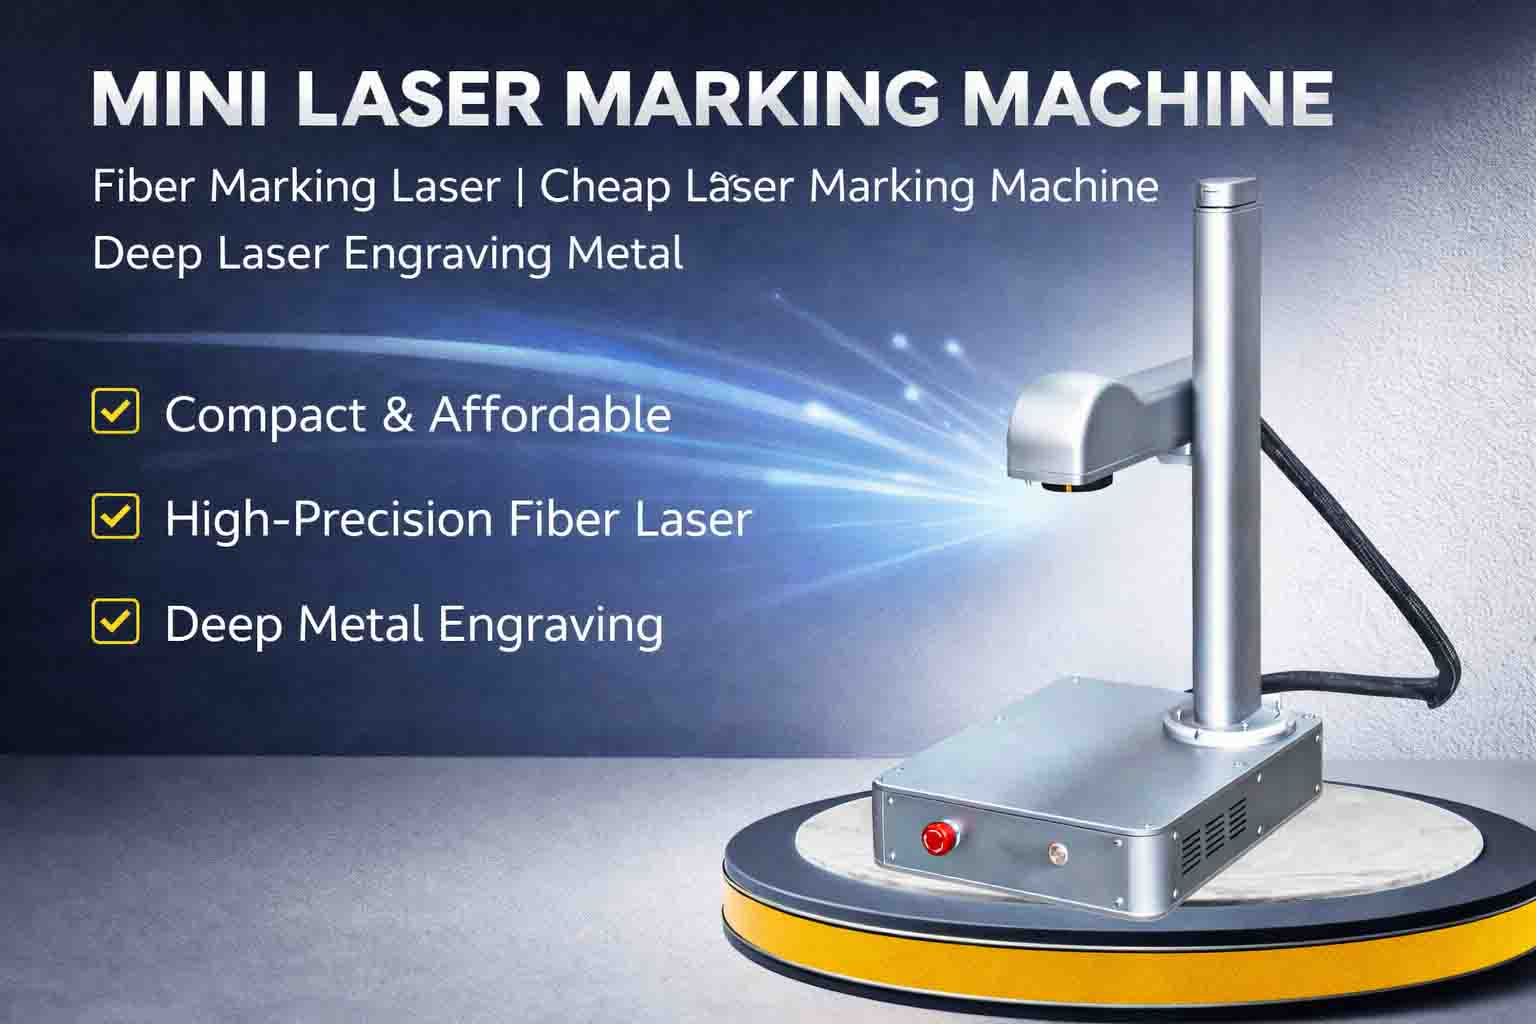
Mini Laser Marking Machine: Compact Solution for High-Precision Metal Marking