Introduction
Laser engraving has become an essential technology in manufacturing, marking, and customization industries. To operate a laser engraving machine effectively, software is just as important as the hardware. Among many options, EZCAD stands out as one of the most widely used and professional laser control software. It is compatible with fiber laser, CO2 laser, UV laser, and other types of laser marking machines. In this article, we will guide you step by step on how to use EZCAD for laser engraving, so that you can achieve high precision and efficiency in your production.
Step 1: Install and Configure EZCAD
Before starting laser engraving, you need to install EZCAD software on your computer.
Download and install the latest version of EZCAD from a trusted supplier or the laser controller provider.
Connect your laser engraving machine to the PC via USB.
Install the driver for your laser control board (such as BJJCZ control card).
Open EZCAD, select your machine parameters (field lens size, working area, laser type), and save the configuration.
Proper configuration ensures your laser marking machine works smoothly and prevents errors during engraving.

EZCAD2 Laser and Galvo Control Software | Laser Marking Software
Step 2: Import or Create a Design
EZCAD supports multiple file formats, such as DXF, AI, PLT, BMP, JPG, making it flexible for industrial and creative engraving projects.
You can import vector files for logos, text, or serial numbers.
Use the built-in EZCAD tools to add text, barcodes, or QR codes directly.
For detailed artwork, vector-based files are recommended to achieve smoother engraving lines.
Step 3: Adjust Laser Parameters
The quality of laser engraving depends on the correct parameter settings. In EZCAD, you can control:
Power (%) – Determines how much laser energy is applied.
Speed (mm/s) – Affects the depth and precision of engraving.
Frequency (kHz) – Controls how pulses are fired during marking.
For example:
Metal marking usually requires higher power and lower speed.
Plastic marking often needs lower power with high speed.
By experimenting and saving different parameter settings in EZCAD, you can build a database for different materials.
Step 4: Preview and Position
EZCAD provides a red light preview (outline mode) that helps you position your design accurately before engraving.
Click “Marking Preview” to see the working area.
Adjust the object or the laser head to align with your workpiece.
This step minimizes mistakes and saves material cost.
Step 5: Start Laser Engraving
Once everything is set, click “Mark” in EZCAD to start engraving.
During operation:
Ensure proper ventilation and safety glasses.
Monitor the engraving process to make sure the design is consistent.
After engraving, inspect the result and make fine adjustments if needed.
Advantages of Using EZCAD for Laser Engraving
Wide Compatibility: Works with fiber, CO2, UV, and MOPA lasers.
Industrial-Grade Stability: Reliable for high-volume marking.
Flexible Functions: Supports serial numbers, barcodes, QR codes, and variable text.
User-Friendly Interface: Easy to learn for beginners and powerful enough for professionals.

Conclusion
Learning how to use EZCAD for laser engraving is the first step to achieving professional, precise, and efficient results. By mastering installation, design import, parameter adjustment, previewing, and engraving, you can fully unlock the potential of your laser marking machine.
If you are looking for EZCAD-supported laser engraving machines or controllers, our company provides high-quality solutions tailored for global markets. Contact us today to learn more about how we can help you improve your production efficiency.

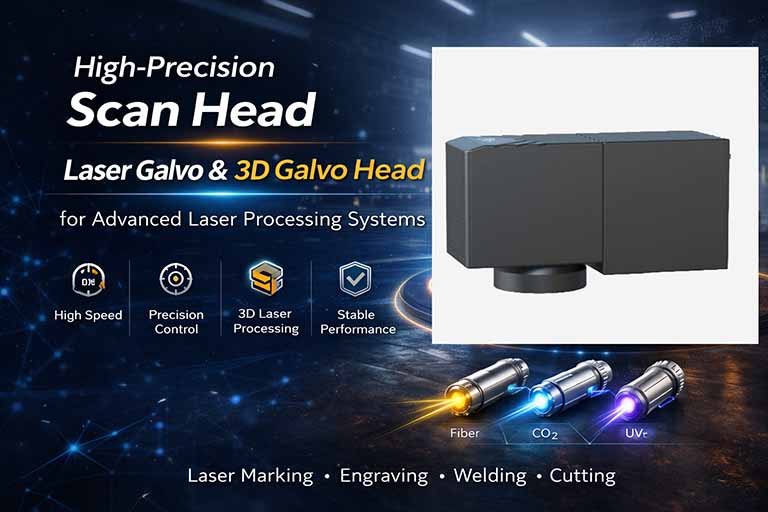
Scan Head & 3D Galvo Head for Laser Systems
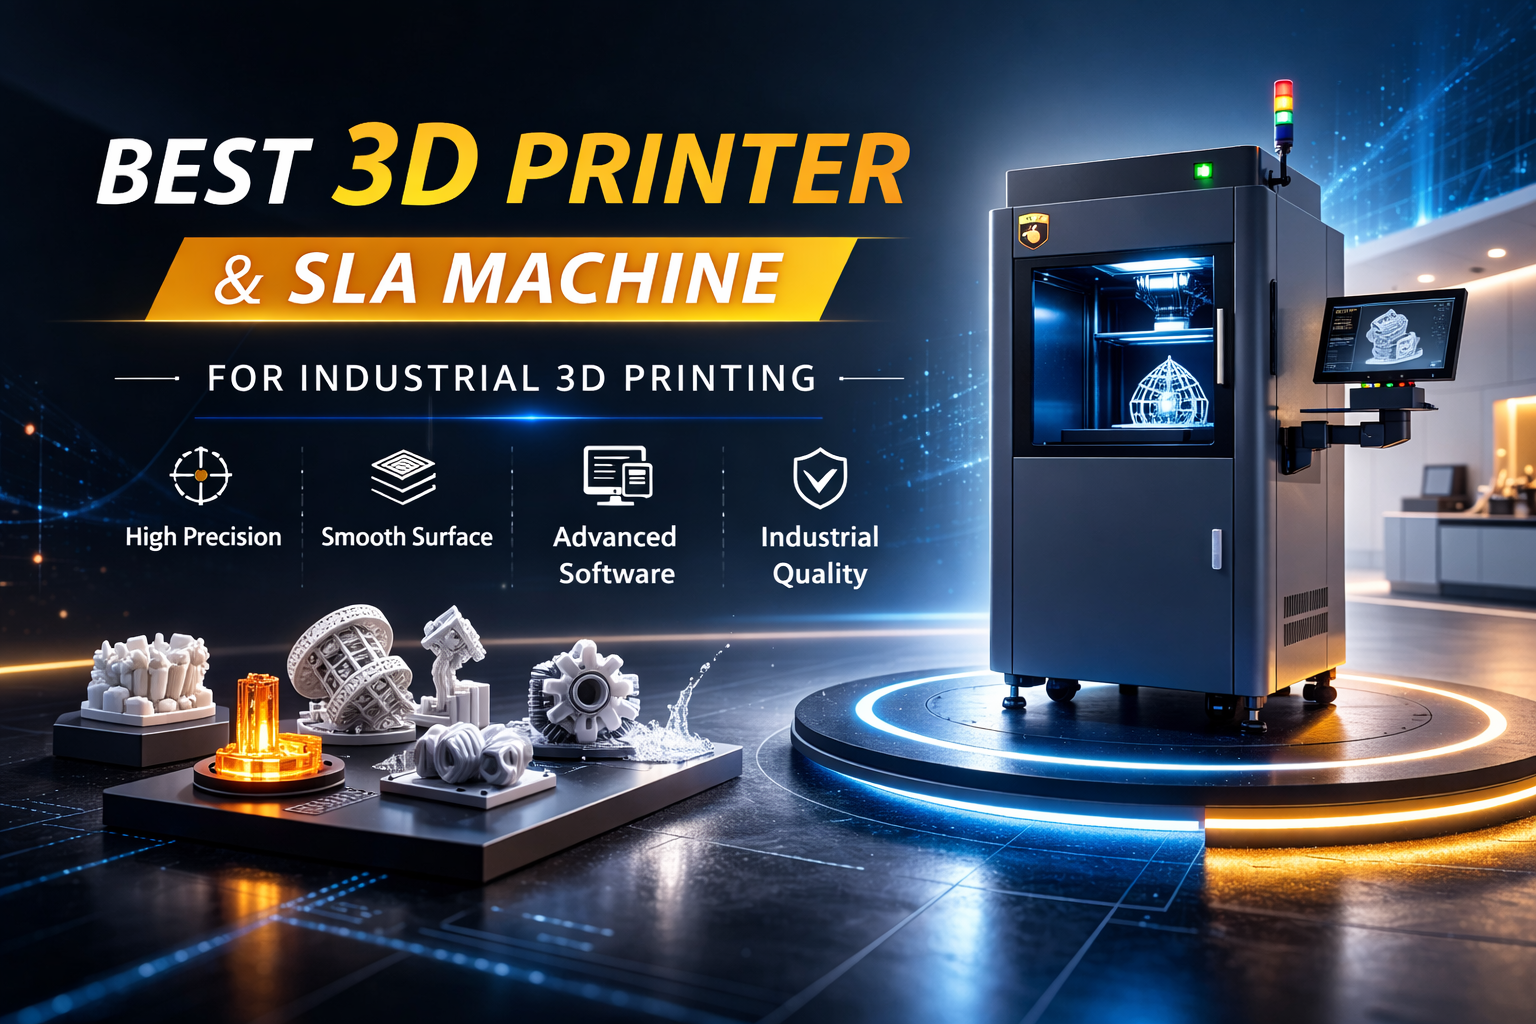
Best 3D Printer & SLA Machine for Industrial 3D Printing
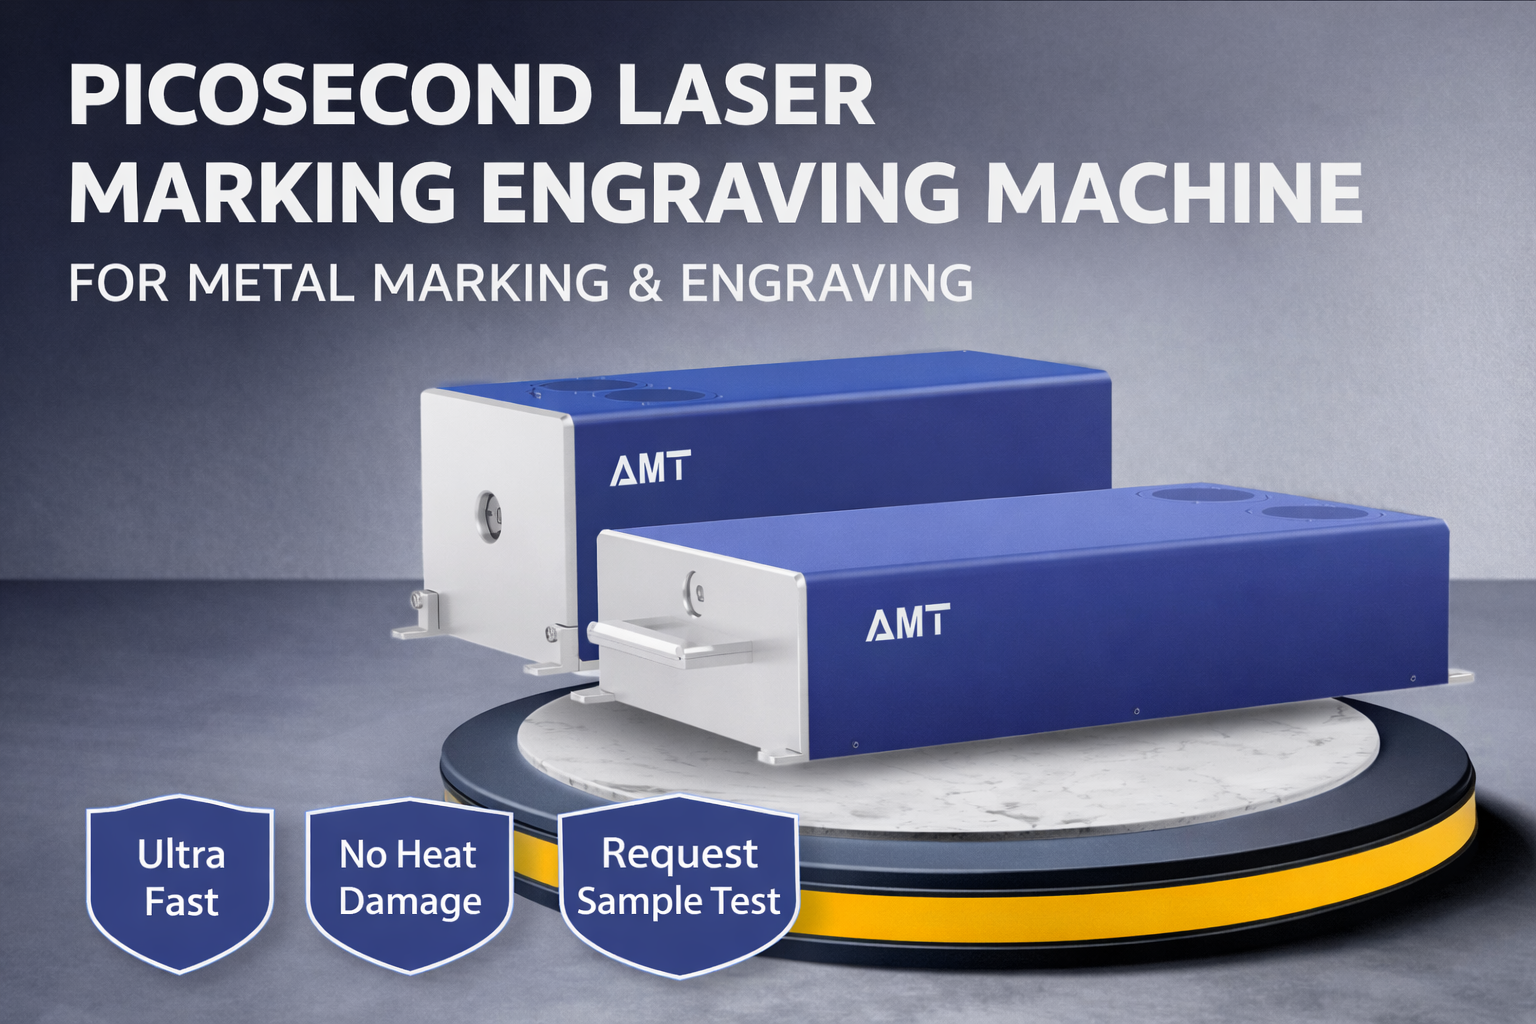
Picosecond Lasers for Ultra-Precision Metal Marking & Engraving
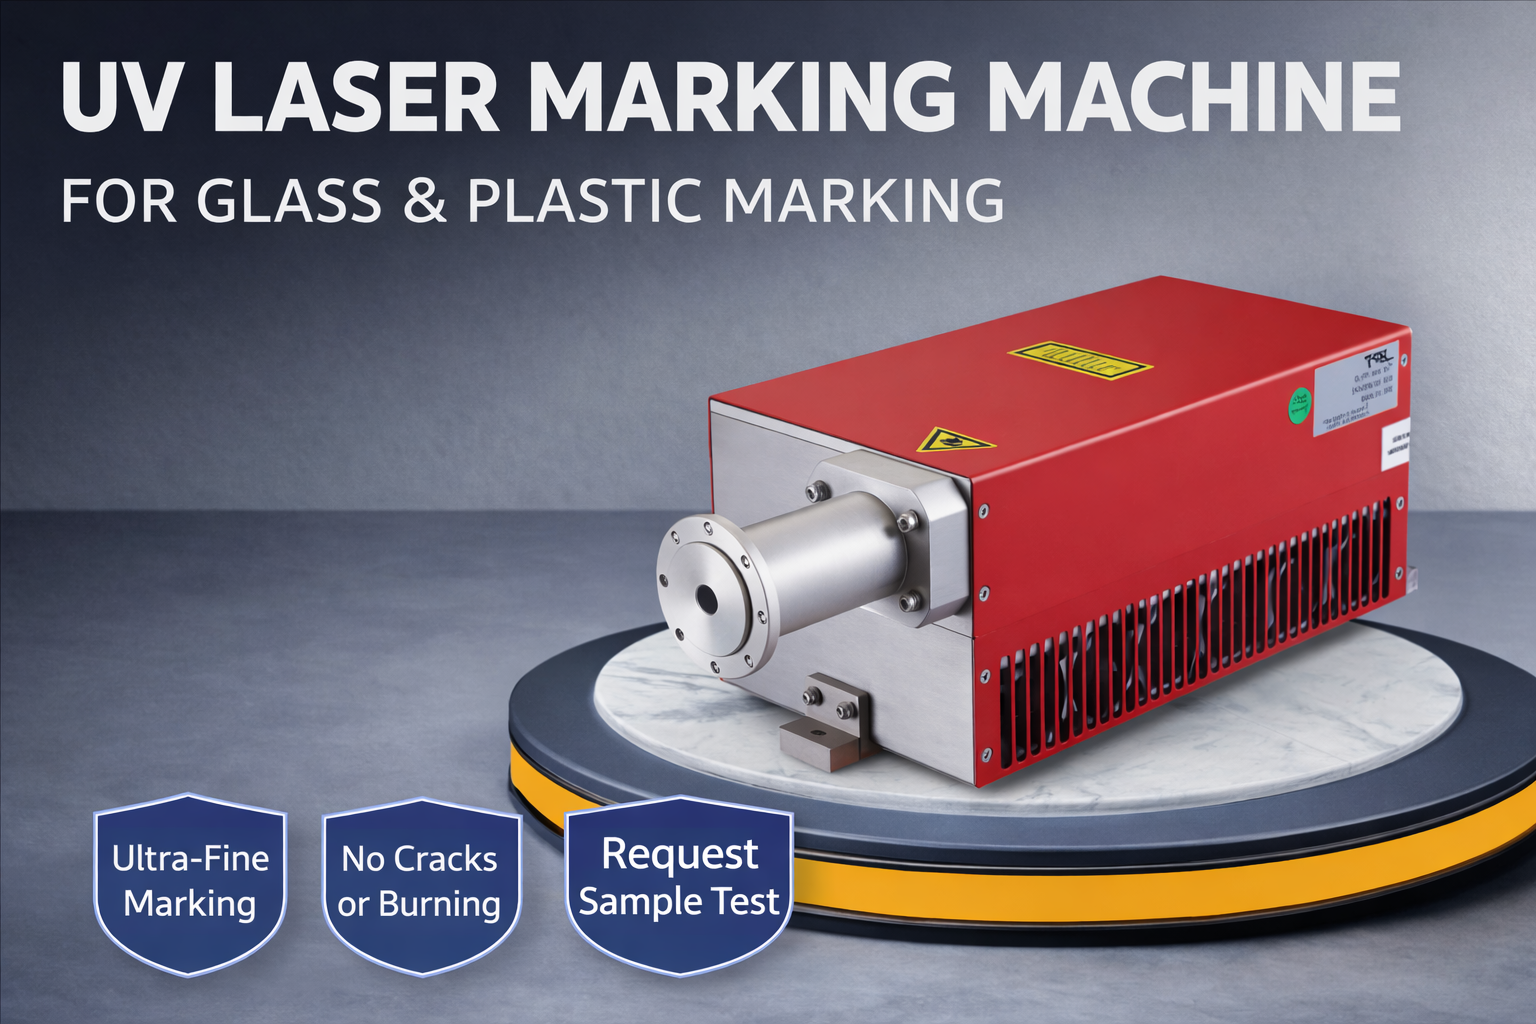
UV Laser Marking Machine for Glass, Plastic & High-Precision Applications
High Performance Nanosecond Lasers for Industrial Precision Processing